Cowles Mt. Sticker
Inspiration
Sticker Mule had a sale (50 stickers for $9!), so I had to make some stickers.

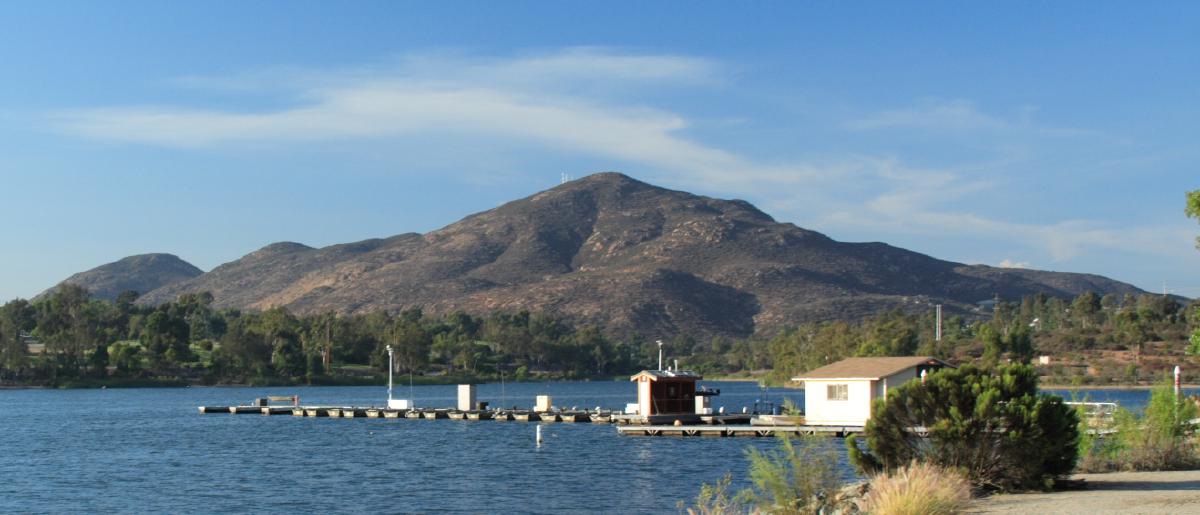
Cowles Mountain
Image by michaelwm25 is licensed under Creative Commons Attribution 3.0
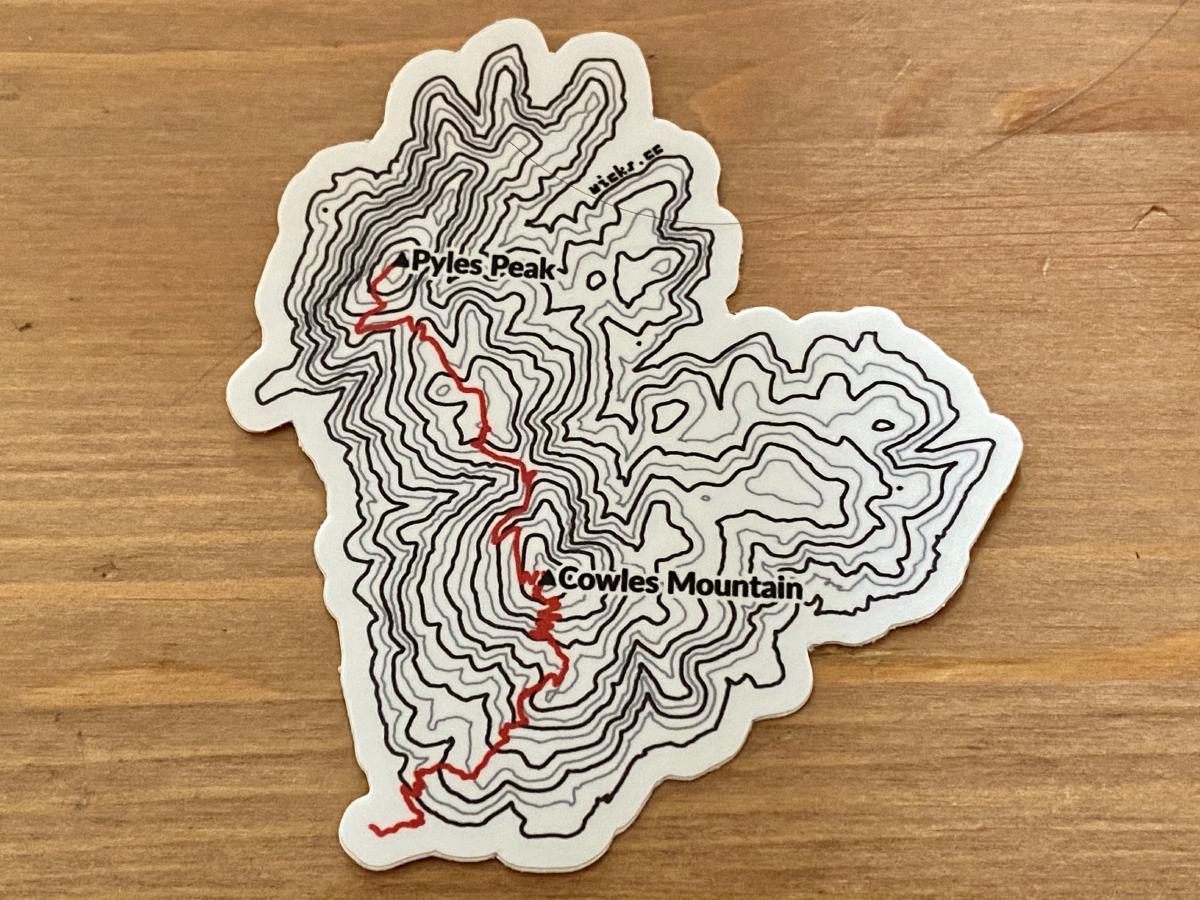
The basic idea was to take one of the more popular hikes in the San Diego area and create a sticker with a little map showing both the contours of the mountain and the main trail to the top of the peak.
Obtaining the Data
The underlying data for the sticker came from two sources:
- The elevation data that I used to create the contours came from the USGS 3DEP dataset, via the National Map.
- The vector data for the peaks and the hiking trail came from OpenStreetMap. For small datasets like this, I find the easiest way to get OSM data is to use the QuickOSM plugin in QGIS.
Combining the data
The bulk of the work of creating the sticker was done in QGIS 3.14. The main portion of Cowles Mountain straddles two tiles in the 3DEP dataset. To combine them, I created a virtual raster. Then, I used the contour tool to create contours at both 50 and 100 feet. These contours are the basis of the sticker. The 50 foot contours received a lighter gray style and the 100 foot a darker gray. Once I’d found a combination of shades that looked good for these lines, I added the main trail to the peak of Cowles Mountain and Pyles Peak as well, since it’s just a continuation of the same trail. The vector data from OpenStreetMap contained many other trails in addtion to the main trail, so some judicious use of the digitizing tools to clean that up was needed. After styling the trail in a nice red, I also added points for the peaks with labels as well. At this point, the only thing left was to clean up the extra contour lines around the mountain, again with the digitizing tools. I also cleaned up the contour lines a bit with the simply and smooth plugins from the processing toolbox.
Then I exported the whole thing as an svg and added the wicks.cc signature in Affinity Designer and sent it off to Sticker Mule.
Final Result
After about a week I got the finished stickers back and they look great!

The final sticker